Bob Marley Drawing Step by Step
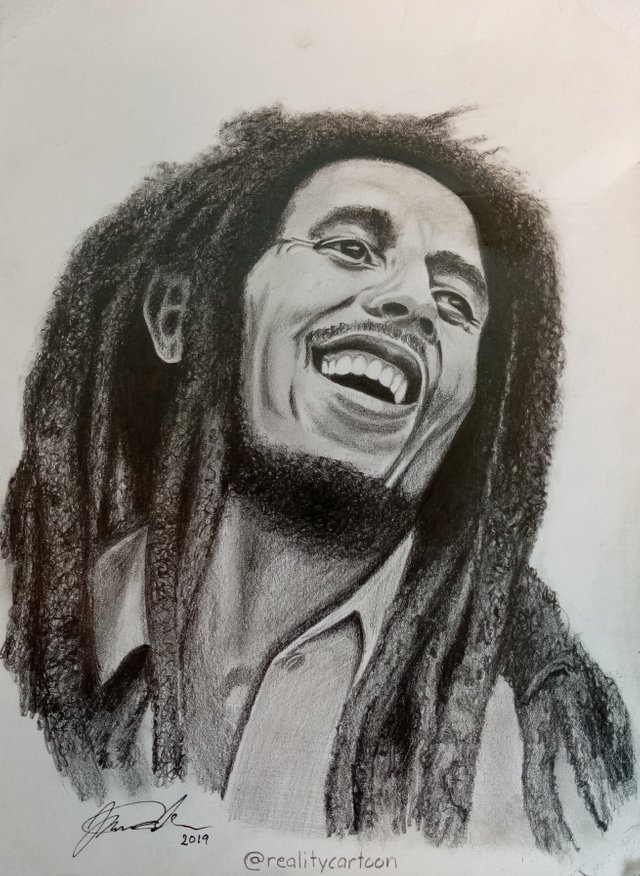
Today has been a rough day. I woke up this morning with a soar throat and a running nose. I think I have fever as well because I'm constantly freezing. It's just typical that it happens right when I decided to have my 30 day challenge. Even if I've had low energy and had to blow my nose every 5 minutes I was focused on making the first of my 30 drawings. I drew most of it yesterday but finished it with some final touches today. I made a drawing of Bob Marley a few years ago but it's always fun to do it again and see if I got any better. Below I will go through the steps I made to get this drawing just as I like it.
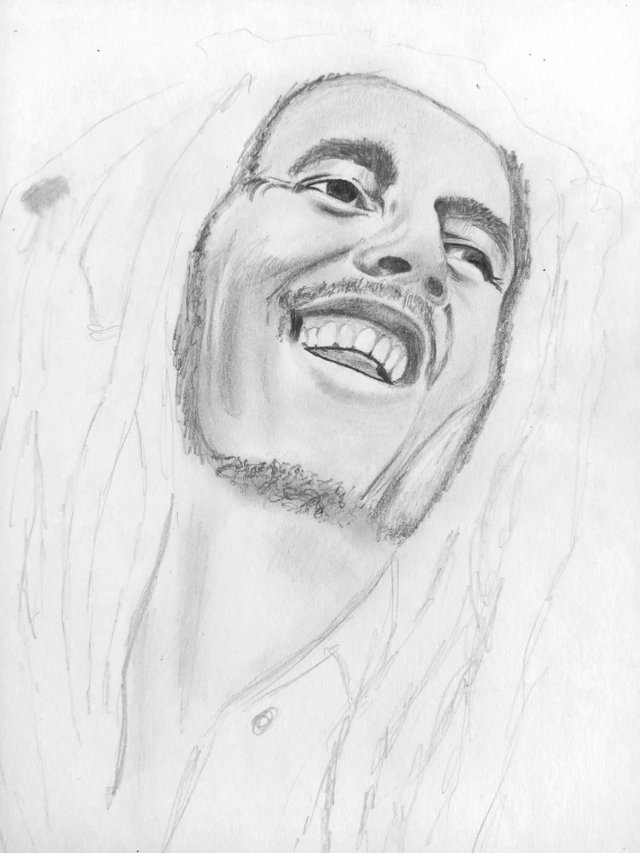
Like I always do I start with sketching up the basic structure, getting the eyes, nose and mouth on the right place. I use a 2H graphite pen and press gently. I always erase most of my strokes because I do it by free hand so it's only a few lines that end up right. When I'm satisfied I start shading a base shadow and focus on getting the eyes and other facial features as close to the original as possible. For shading I start with a 2B graphite pen and work my way up to 7B for the really dark parts.
When the eyes, nose and mouth is good enough I start filling in the darker areas to get the drawing to seem more alive and realistic. For this I use a 4B pen but a 6B would work just as well. One key ingredient to get a realistic drawing is contrast. If you don't get the dark areas really dark it will look flat and not very realistic. I compare with my reference photo all the time. Patience is a good thing to have, the more time you spend the better the result is going to be.
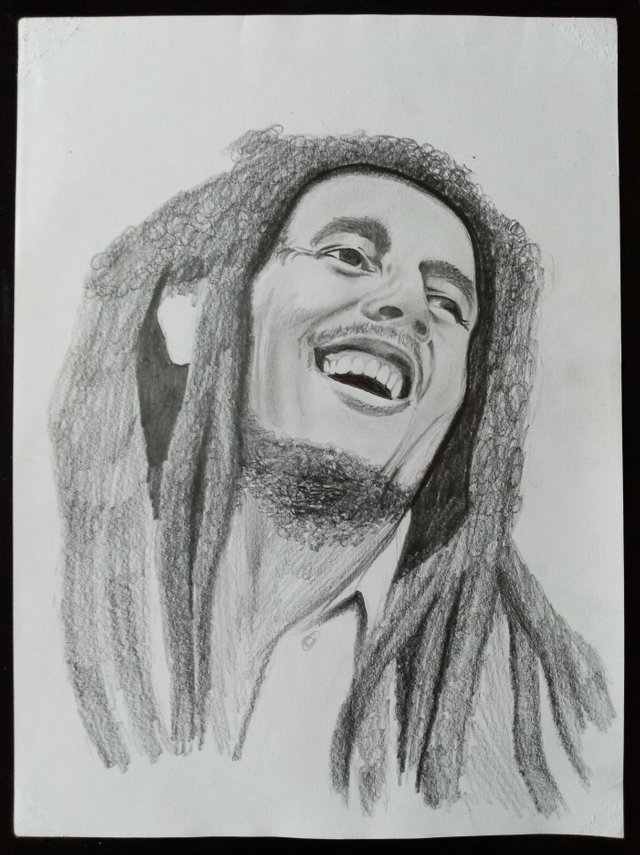
When I've come this far I usually get a feeling of how the drawing is going to look like when it's finished. Usually when I start drawing a portrait I think it looks awful and sometimes I doubt if it's going to be any good. But the more I work on it, the more I like it. It always ends up with me getting surprised of how good the end result got.
I fill in more and more of the shades making them darker and darker. To make the dreads I just "shake" my hand while pressing the pen to the paper. In this way I get a certain structure on the dreads. Maybe not super realistic but good enough for me. I use some paper towels to smooth out the graphite on bigger areas and a paper stick for the small shades.
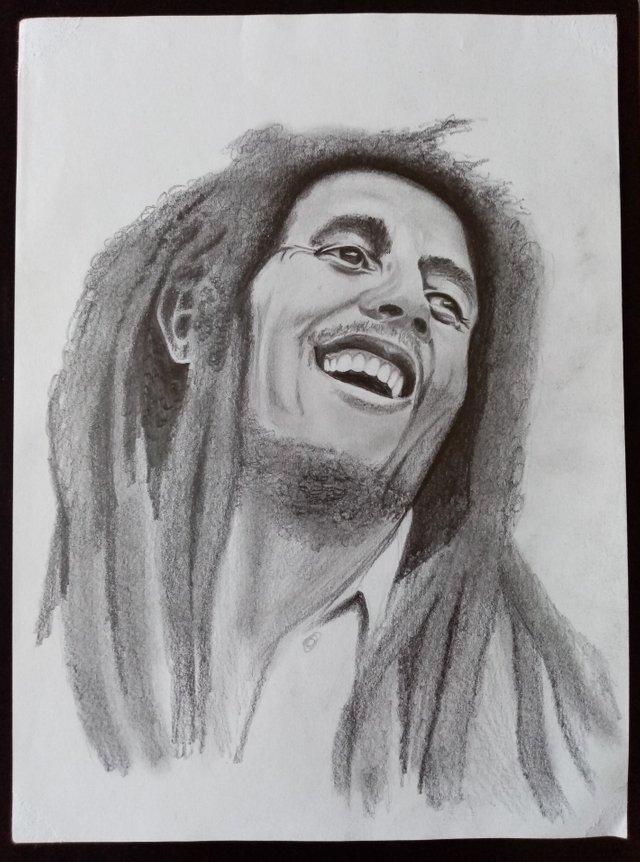
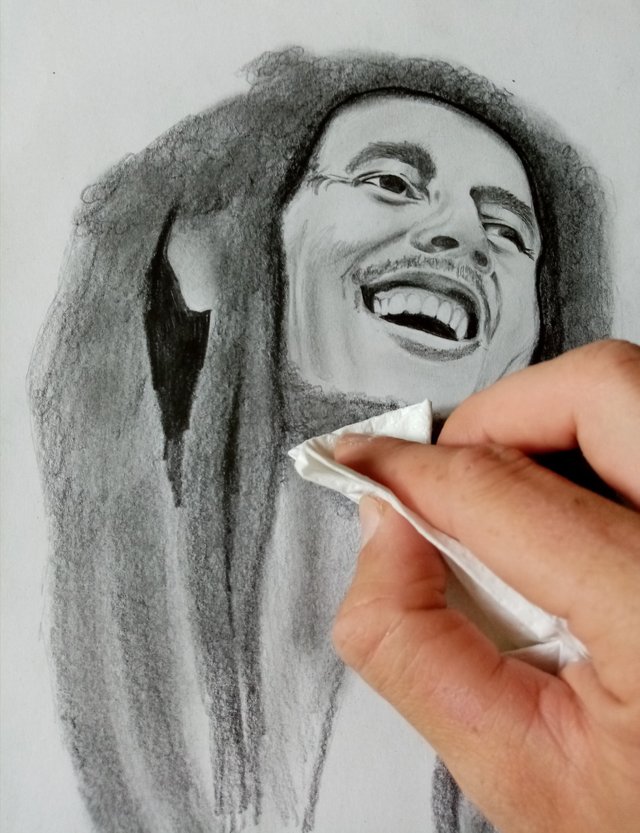
When The drawing is close to finished I start on the details. I have a sharp eraser and I always keep my pencils sharp. I have a mechanical graphite pen with a thickness of 0,3mm for the really fine stuff.
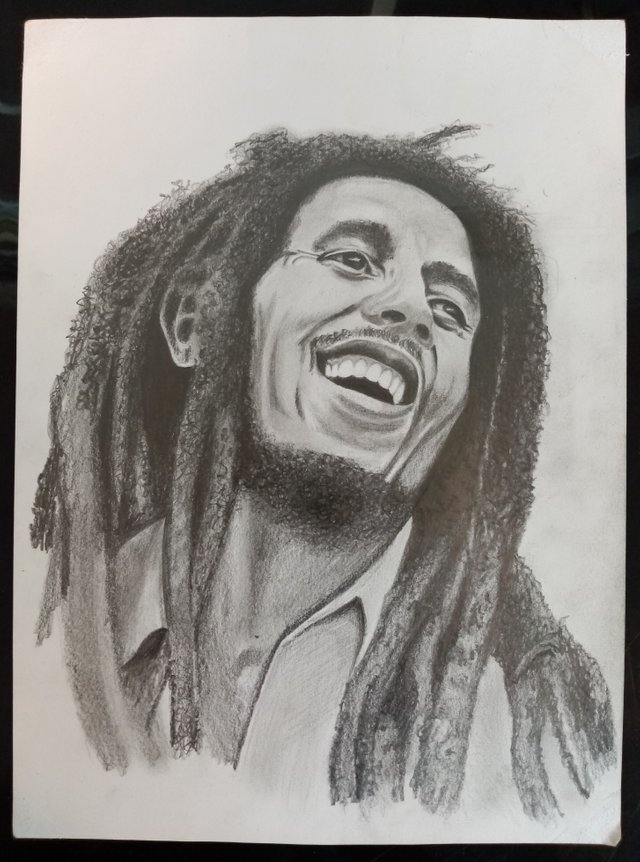
The last hing I do is to go over the darker areas one more time. If the reference photo is black in a spot it should be completely black and not dark gray. You can see on the last 2 photos that it's night and day when you add contrast. Or what do you think?

If you liked this post you are welcome to upvote and resteem it. Also follow me if you want more content like this. My challenge goes on, 29 drawings to go :)

Feel free to check me out on instagram
Instagram
Bob Marley Drawing Step by Step
Source: https://steemit.com/art/@realitycartoon/drawing-1-out-of-30-step-by-step-tutorial-of-my-new-bob-marley-drawing


Komentar
Posting Komentar